

Drying waves and curls is a step many people are still unsure about. That is understandable: curly hair discussions often disagree about the best way to dry hair without losing definition. Both air-drying and diffusing have advantages and disadvantages. The right choice is the one that works for your hair, scalp and day.
In this article we will:
- Compare both drying methods
- Explain the diffuser attachments people with curls use
- Look at practical diffusing techniques
How can you dry curls while preserving their shape?
Although we are comparing two main options, there are several ways to combine them. If you are just beginning to explore curly hair care, start with the following principles.
When should you comb curly hair?
You may have read about cleansing and conditioning, then wondered when detangling fits in. During drying is usually not the moment if your goal is intact curl groups. Combing them apart can disrupt the pattern and create flyaways. A common option is detangling while conditioner provides slip after shampooing or cowashing. Another is during a more substantial refresh, with enough moisture and an appropriate leave-in or detangler.
Curl tip: If your refresh is just a light mist and a little scrunching, leave full detangling until wash day. Our refresh guide explains ways to reshape hair without washing it all over again. Damp detangling with adequate slip can also help distribute product evenly. If knots are difficult, consider a suitable detangling product rather than pulling through them.
Curl tip: Beginners and anyone feeling stuck may find our guide to common curly hair care mistakes helpful.
Encourage definition while the hair is wet
Wet or damp hair is a useful stage for supporting its natural waves, curls or coils. A suitable comb or brush can help arrange hair into curl groups. Product application and, if you use one, a curl activator can further support the shape.
Add hold before drying
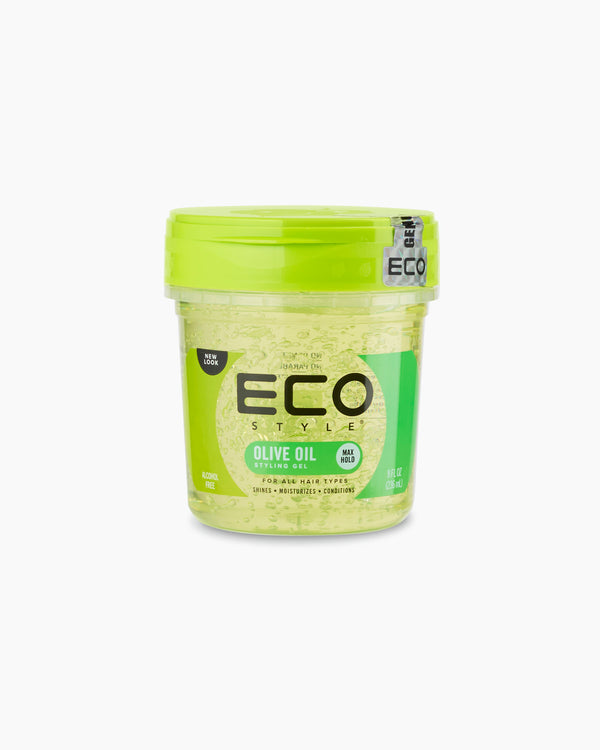
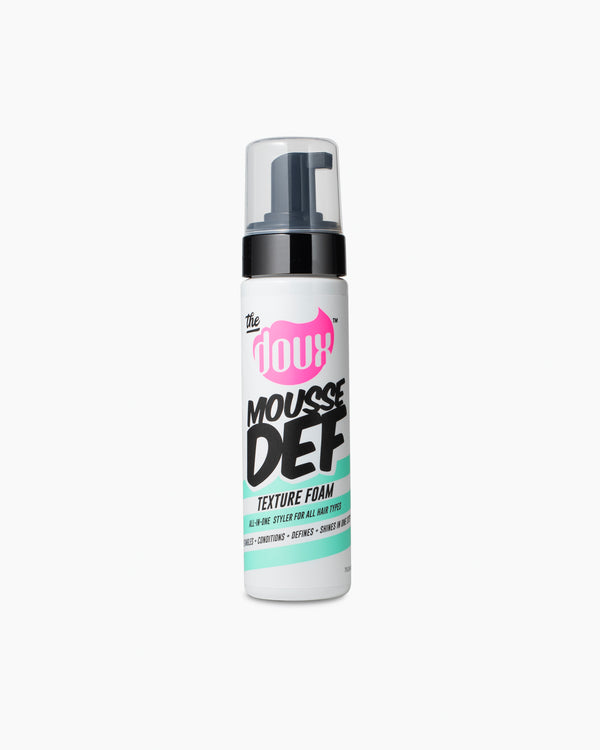
Choose a gel, mousse, custard or another styling product whose texture and hold suit you. One technique is to work in sections and scrunch the product through the lengths, lifting from the ends towards the roots. Other techniques exist too. You do not necessarily need to layer leave-in, activator and styler: a suitable styling product on its own may be enough. Our styling-technique guide explores the options.
Keep heat comfortable
If you blow-dry, a diffuser can spread airflow and make it easier to preserve the curl groups. A concentrated blast can disturb them. Temperature matters too: excessive heat can damage hair and feel uncomfortable on the scalp. Choose a gentler setting and keep checking comfort, rather than assuming faster is better.
Release the styling cast when fully dry
Gel, mousse or other stylers may leave a firm cast. Once the hair is completely dry, gently scrunch it to soften that shell and reveal more flexible curls. Work section by section, cupping from the ends upwards. A smooth silk scarf or suitable microfibre cloth can help reduce friction if you prefer. Gently change sides and lean forward to reach underneath, without stretching the curl groups apart.
Diffusing or air-drying: advantages and disadvantages
Air-drying uses no dryer, while diffusing combines a hairdryer with an airflow-spreading attachment. Either can be part of a gentle routine, and you can also begin with one method and finish with the other.
Drying and porosity
Porosity is one influence on drying behaviour, alongside density, strand thickness, product amounts and the environment. Higher-porosity hair has a more disrupted cuticle and may be more vulnerable to further damage. Air-drying or careful low-heat diffusing may suit it.
Lower-porosity hair often takes longer to dry. A diffuser can be practical when air-drying takes hours. You do not need to “open” the cuticle with high heat: use a comfortable setting and judge the result. Porosity does not make excessive heat harmless.
Our porosity guide can help if you are unsure what the term means for your hair.
Air-drying: advantages
- Less hands-on time: Thick, medium or long curls can take effort to diffuse. Air-drying leaves your hands free for other tasks.
- No dryer heat: You avoid direct exposure to hot airflow.
Air-drying: disadvantages
- Waiting time: Depending on density, porosity and conditions, drying can take hours. That may be inconvenient in cold weather or before leaving home.
- More opportunity for disturbance: During a long drying period, touching, moving or running fingers through the hair can disrupt the shape and increase frizz.
- A different finish: Some people find less definition or volume. Wet weight may stretch the pattern before it sets.
- Scalp comfort: Prolonged dampness may feel uncomfortable for some people. Drying for more than an hour does not automatically cause a scalp disorder, but going to bed with a wet scalp can be inconvenient and deserves reconsideration if you notice irritation.
Curl tip: Persistent scalp symptoms should be discussed with a dermatologist. Changing the drying method alone may not address their cause.
Diffusing: advantages
- Shorter drying time: A dryer can reduce the wait, particularly for hair that otherwise remains wet for hours.
- Definition and volume: With appropriate technique, a diffuser can support curl groups and root lift and reduce the time during which wet hair is disturbed.
Diffusing: disadvantages
- Heat exposure: Adjustable temperature helps, but poor technique or excessive heat can still leave hair dry or damaged. Fragile lengths deserve particular care.
- Effort: Holding a dryer around long curls can tire the arms and shoulders. Weight and grip are practical considerations.
Curl tip: A drying bonnet attachment is another option some people use to reduce the need to hold a dryer. Pretty Curly Girl has offered this type of accessory, with a bonnet connected to the dryer by a long tube. Check the exact product’s compatibility and instructions, keep airflow unobstructed and do not leave a running dryer unattended.
How do you diffuse curly hair?
A few techniques can make drying more comfortable and preserve the shape.
Plopping: A brief wrap in a smooth cotton T-shirt or suitable microfibre towel can absorb excess water after washing. Arrange the curls gently rather than rubbing them. Then continue diffusing. Whether plopping helps depends on your pattern and desired volume; a long wrap is not necessary for everyone.
Air temperature: Start with a gentler temperature and airflow. Lower heat may take longer but can reduce exposure to excessive heat. Even if your lower-porosity hair dries slowly, there is no need for an uncomfortably hot setting.
Position and technique: Work in sections. You can cup the ends in the diffuser and raise it gently towards the roots, allowing airflow to dry that section without pressing hot equipment against the scalp. Follow the dryer’s directions. Change between upright, side-to-side and forward positions if comfortable to encourage root volume. Avoid holding hot airflow in one spot for too long.
Do not rake or comb: Once the shape is arranged, minimise unnecessary touching until dry. Repeatedly checking with your fingers or brushing through can break up the curl groups.
Which dryer or diffuser should you consider?
The original article mentioned the following examples. Models, availability and prices change, so treat them as names to investigate rather than current price comparisons or guaranteed recommendations. Check adjustable heat and airflow, weight, attachment fit, safety instructions and suitability for your routine.
- Parlux: Certain models offer a large diffuser bowl, which some people find useful for holding curls while drying. Check the actual model and attachment.
- Dyson: A familiar name in curly hair discussions, with different models and attachments to compare. Confirm what is included.
- Freylich: Mentioned in the original source as a more affordable option. Check independent information on the exact model, including temperature control and overheating protection.
- Shein listings: Low-price dryers may appear on this marketplace, but a listing is not a single consistent model. Check the manufacturer, local electrical compliance, seller information and return conditions rather than relying on a price or a few reviews.
- Black Orchid diffuser attachment: A large attachment designed with textured hair in mind. It is not guaranteed to fit every dryer; verify the diameter and whether an approved adapter is available.
- DevaFuser attachment: The hand-shaped design directs airflow around sections of hair. Compatibility and use depend on the version and your dryer.
We hope this comparison helps you choose a drying approach with more confidence. If questions remain, ask for guidance and explore suitable curly hair care at Curliculum.